I had the center food done a while ago and now its time to install it. I didn't want to remove the batteries and start unwiring that so I lay the droid on its side and slip up the batteries just enough to reach the screws. I swapped out the Philips heads for Allen wrench head.
Here is a bit of a close up. I found this much easier to use a 90 degree tool to bolt that in then a screw driver.
I have 1 leg ready so I turned the droid a bit and bolted that leg on. Next up is putting together one of the outer foots. There is a certain order for this to be done that makes it easier so read along.
1. First you install the hoses into the battery box.
2. Then you install the hoses in the foot and don't forget the foot strip, its easier to do this now and about impossible after the foot drive is installed.
3. Now you can install the ankle to the foot, you can also do this after the foot drive is but its easier to do it now.
4. Install the foot details on the side. If you install the foot drive system you can't install these parts as there is no room to reach the bolts. I learned all of this the hard way with trial and error until I found a good way to put this together. Despite the fact I painted these feet and related parts over and over again to get them perfect. Just be ready to see additional scratches as this don't exactly slide together easily. I think later I can just buy an airbrush and do touch up on parts I don't like.
Such as the other foot I did last week. When I put this together the foot strip did a 180 swing and scratched in a smily face into my fresh paint. Damn it! I refuse to take this apart and try to get it assembled perfect. Some masking tape and an airbrush will fix this up later.
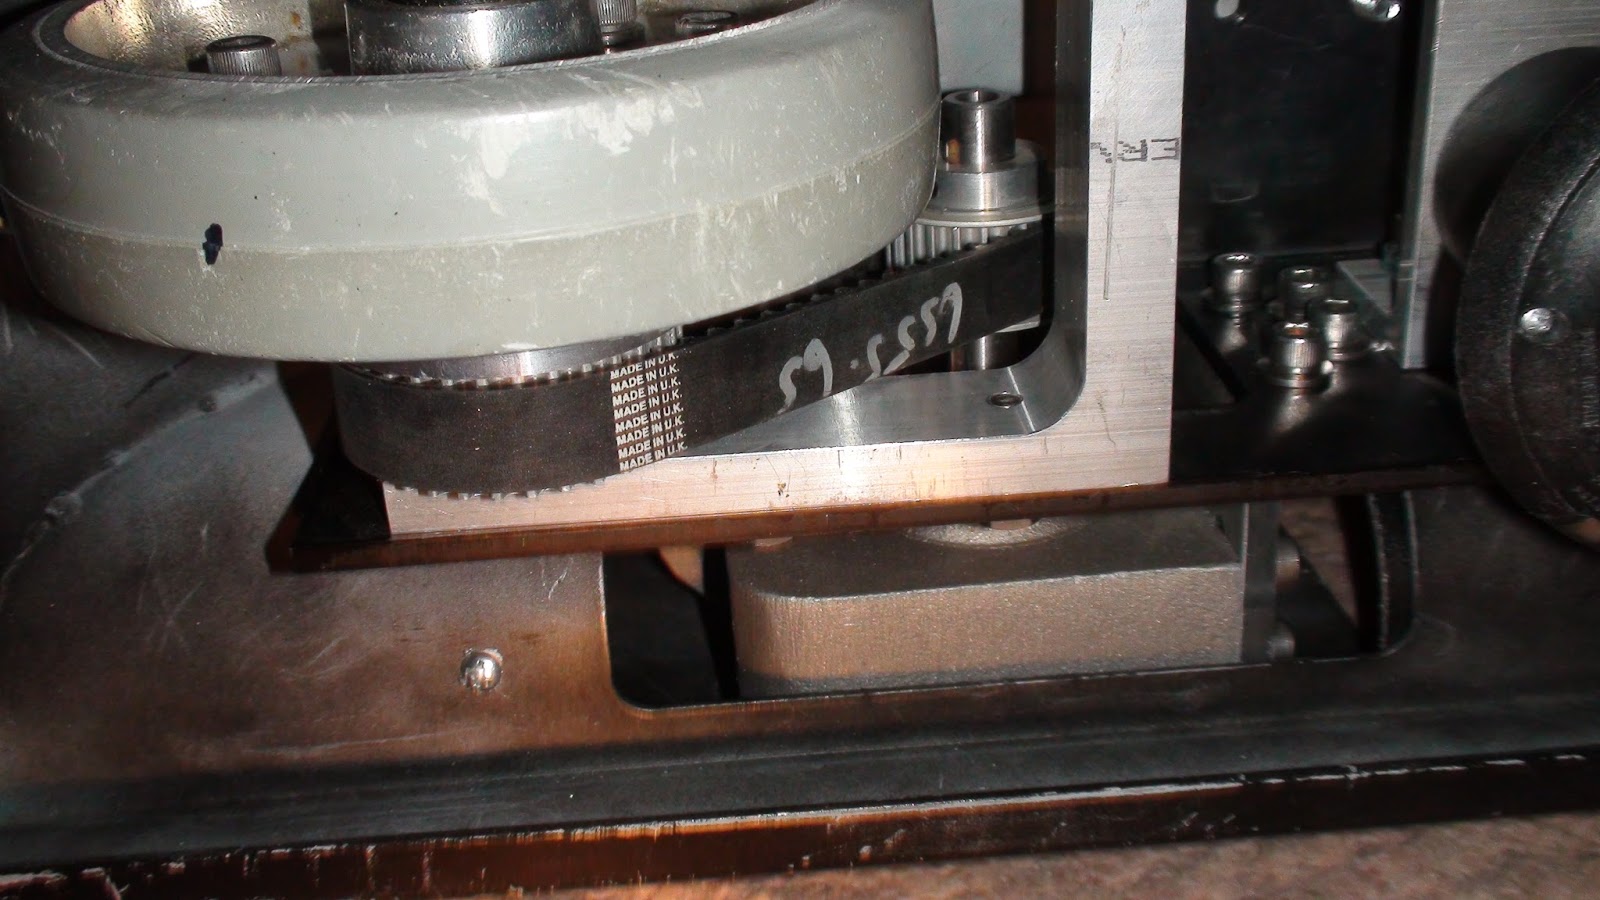
5. Anyway now you install the foot drive system in my case it's an original JAG foot drive with 1 wheel.
6. Install the NPC motor now and then you shove the wheel and get the belt as tight as you can and tighten the 4 bolts. DO NOT have the wheel in the position you want and then install the NPC that will make the NPC motor a bit crooked. Now slide the battery box over the NPC motor.
7. I used 2 self tapping sheet metal screws to attach the batter box to the foot shell. I got a nice and solid fit doing this. I'm using battery boxes supplied by R2 member Matt and they are really nicely done.
8. This is where I placed the other screw to keep it bolted on. I hope the foot is somewhat level if the rear omni ball is too high I'll have to take it apart and adjust it. As a rule of thumb the droid only drives on the wheels and not the wheels and the omni ball. Most have the omni ball about a 1/4 inch lower than the wheel and the omni ball is sort of a backup system form when your droid takes a hard stop or goes in reverse.
Other misc problems doing your install.
There is a good chance you're going to have to grind down the top of the NPC motors or the battery boxes probably won't fit. This is kind of a right of passage for a builder.
Not everything is easy peasy what I find is my foot drive is about 1/8 of an inch off the center channel as the red arrow in the image above shows. The green dots I paint in the U channel are where I should have drilled the holes. So 1 side of the NPC needed more grinding than the other side needed. Make sure the foot drive is centered perfectly in the U channel of your foot shells or there will be hell to pay!
What kind of hell to pay? This kind of hell! As I said before if you don't have this centered too well as I found out. You might be grinding extremely deeply into 1 side of your NPC motor is the hell you'll pay of screwing up $320.00 in motors and close to $900.00 for your foot shells you wrecked and need to have spot welded to save it. Read, read read alot of blogs before you try to wing this like I do!
This part I got from 'somewhere' I don't remember that are dual nuts to hold the hose in the battery box didn't line up. So I just cut that in half with a dremel, no biggie.
Last tip: Don't put any clear coat of paint on any of your parts as they might get messed up in assembly and you never known when final assembly is until its sat for months completed. I plan to air brush the parts later to fix them. This black Death Star Droid should have NO weathering, not until the Death Star blows up, until then it was shiny and clean looking.
Also don't use loctite (yet) because as a droid builder you never know how many times you have to take these various areas apart until you have parts just where and the color you want them. I'll probably be taking these feet apart several more times to adjust the feet level if needed and other things that will pop up. I know how R2 builders think, install something use loctite and think " This part is done, I can cross that off the bucket list". No part is ever done, you're just done with it for now...


No comments:
Post a Comment