As you can see here I cut a small piece of aluminum L bracket and JB welded it to the bottom of the frame. I did the same thing to the end of the door support rod, except thats held in by a screw. I then super glued heavy duty velcro. You don't have much room to work with. The Octoport needs to fit in next to this.
Then centered the inner back door to the Comm8 fullsized door and drilled and tapped holes until I had it fastened on. I busted a couple of 4-40 bits while tapping. I always do every dozen holes in this small size!
Next up. I temp taped the outer skin over the inner skin to see whats I need to do next.
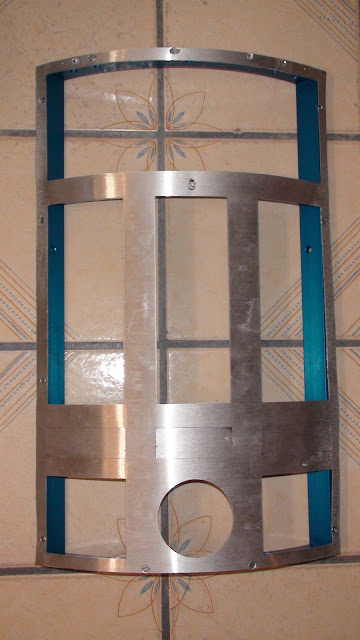
The outer skin is laser cut. But the inner skin is hand cut by me. Notice how there is a slight uneven left over aluminum there. I have this on both sides, but not on the top and bottom of the door. This inner left over aluminum need to be filed down and removed until both layers are even.
Now I have the outer skin VBH taped and super glued to the inner door which is screwed onto the back door frame. All I have to do now is add the other panels back on.
I stated gluing and JB welding the inner panels and then noticed I forgot to paint that little blue ring in the power coupler blue. So work stopped while I did the Krider blue on this and then I can proceed my routine. Typically I run 1 mile on my treadmill, stop and do droid work for 15 minutes. In this case its gluing parts on. Then run another mile, and glue more parts until I hit 5 miles a day.
Okay now that the skin job on my first droid is winding down and I have more stuff incoming. I need to being some other projects as I finish some milestones. So its time to start on the feet. I have a con less than 4 months from now and I hope to drive this droid there. So what you see are virgin center feet parts. Above are budget aluminum center foot shell, 2 inch wheel casters and JAG steel feet plates.
I have the instructions and went to ACE for the hardware with the entire R2 center foot. Half way thru ordering all the hardware the salesman said: "can I ask what is this thing for?"
I said: "Were getting the hardware for R2-D2 center foot".
ACE guy: "Really? How big is this thing?"
Me: "Well look its full size, these are custom parts".
ACE guy: "OMG this is amazing"
Me: "I know".
So here I have mounted the left bracket onto the center foot shell via drill and counter sink with 10/32 screws and nylon lock nuts. I know there is a lot of weight on this section and if this fails I'll have it welded or upgrade to steel. So far I haven't heard of any builders having issues like that. So I drilled 3 holes per side and counter sunk so I can cover that up later with filler.
Here is another angle of about an hours work of drilling so that U bracket is fastened to the foot.
The thing on the left is 2 inch caster wheels from Lowes mounted to the JAG center foot mounting brackets. I'm test fitting everything many times before I drill anything. My wife askes isn't there an instruction manual?
I had to laugh. I said ya there is. Star Wars, Empire Strikes Back and Return of the Jedi. Study the freeze frames. There is no real manual to making droids yet. Just blogs and websites tutorials.
I'm test fitting how that JAG plate will mount to the center feet. Then blue taped on this inner skin foot plate that came with it. So I can try to figure out where exactly I need to mark the center punch holes for this JAG foot frame. Also I'm trying to figure out where half moons will mount into all of this.
Here is the foot shell with the JAG plates test fitting in. The problem here is the wheels are 1 inch too short. So something is wrong.
The fix?
Add 1 inch spacers under each caster?
Getting bigger footer casters?
I'm going to have to ask the R2 builders on how to proceed here.


No comments:
Post a Comment