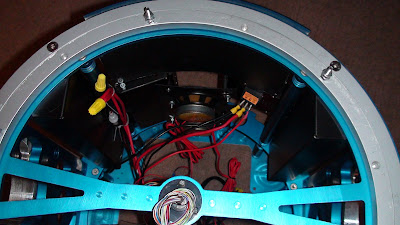
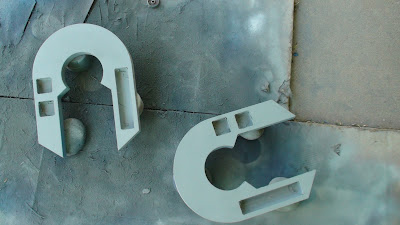
But I'm glad I didn't try to make them myself. Because I didn't know how a proper bread pan should be constructed. These I think are Comm8 James made install in his frame like Ferrari factory made. There are already holes taped in the frame and you install the bread pans in minutes.
I had to take out my Amp and mounting plate to fit this bread pan in. I painted the mounting plate black to keep the black consistent and noticed it had started to rust after only 60 days?
My droid is now black from the front with the new add ons. I've come a long ways over the past few months of building.
The top Utility Arm is hanging too low. I don't know why or how to fix it yet. I will ask people smarter than myself how to resolve this problem.
 |
All the doors are open, black bread boxes inside
As you can see the black bread pans fit together pretty tight. Real estate inside these droids is scarce when you get down to it. Every inch it eventually used for something. I had to take out my amp and rewire it to barely fit it back in.
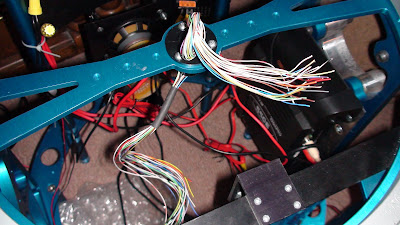
I had to redo the amp from this:
To this:
All those AMP and speaker wires I had looped and sticking out had to be redone and I expect to trim them again later and left some slack for when I do that. Notice the AMP is mounted to a steal plate thats screwed into the Comm8B frame. This touches the breadpan. I got lucky and mounted my amp to touch exactly where these breadpans do! But I wasn't lucky with the power wires, but now that's fixed.
I've had these Utility Arms painted red and installed for a while but they are crooked and need sanding to clear the AL skins. So I said one day I'll get to getting around to making sure these open and close. So today was that day! I asked for some help on the Astromech BBS and did other droid work. Later I checked the board found some tips and acted upon them. Now my arms open and close.
Close but not perfect, the lower arm is tilted too high at the tip. My solution for that will be to drill into the tip of the arm, its resin. Then fill that full of lead to make it sink just alittle bit. Then sand and paint and these R5-D4 Utility Arms should be good to go.


