
I was able to get my hands on whats called the 'John Sherrell Aluminum Skins'. These simply are a work of art as is the frame. I'm finding its allot of fun to work on these as your going to face some cool challenges depending on what you plan to do with it. I plan to hinge some of the doors but not sure on which ones and my gut will decide which doors to hinge and take out.

I put these skins aside while I worked on the R5 head. But now I'm going through them in short order.

I'm giving them a coat of primer and then cutting out all the pieces and painting them 2 coats of white satin.

This is a white paint run of all the outer skin panels for the front side of the droid. I put on 2 coats of primer and sand with 320 grit and inspect. Then I apply 2 coats of white satin. I sand the first coat of white and leave the 2nd coat as is. I'm not putting on clear coat because of the nightmares I read about it turning yellow later on. Plus some parts I might screw up and need to take apart, resand and try again. I'm testing parts and paint and will adjust as I go and when it gets to servos on doors and the future, so temporary is the state of mind. I can later paint the hell out of it when I'm happy I can get doors and grippers working. My point is don't cake on layers of paint as I read people putting on 6 layers of paint. That's crazy talk at this stage of your build. Two coats and see how you like it and fix later. You want just enuff paint to make it work and then plan on finish paint if you want it perfect. Most people weather the droid so you can get away with allot. Anyway, three hours after the parts dry and then I place them directly in the sun in Phoenix which is pretty hot and this bakes it finish pretty good. After 24 hours its ready for either another coat or to install safely without finger printing the new paint.
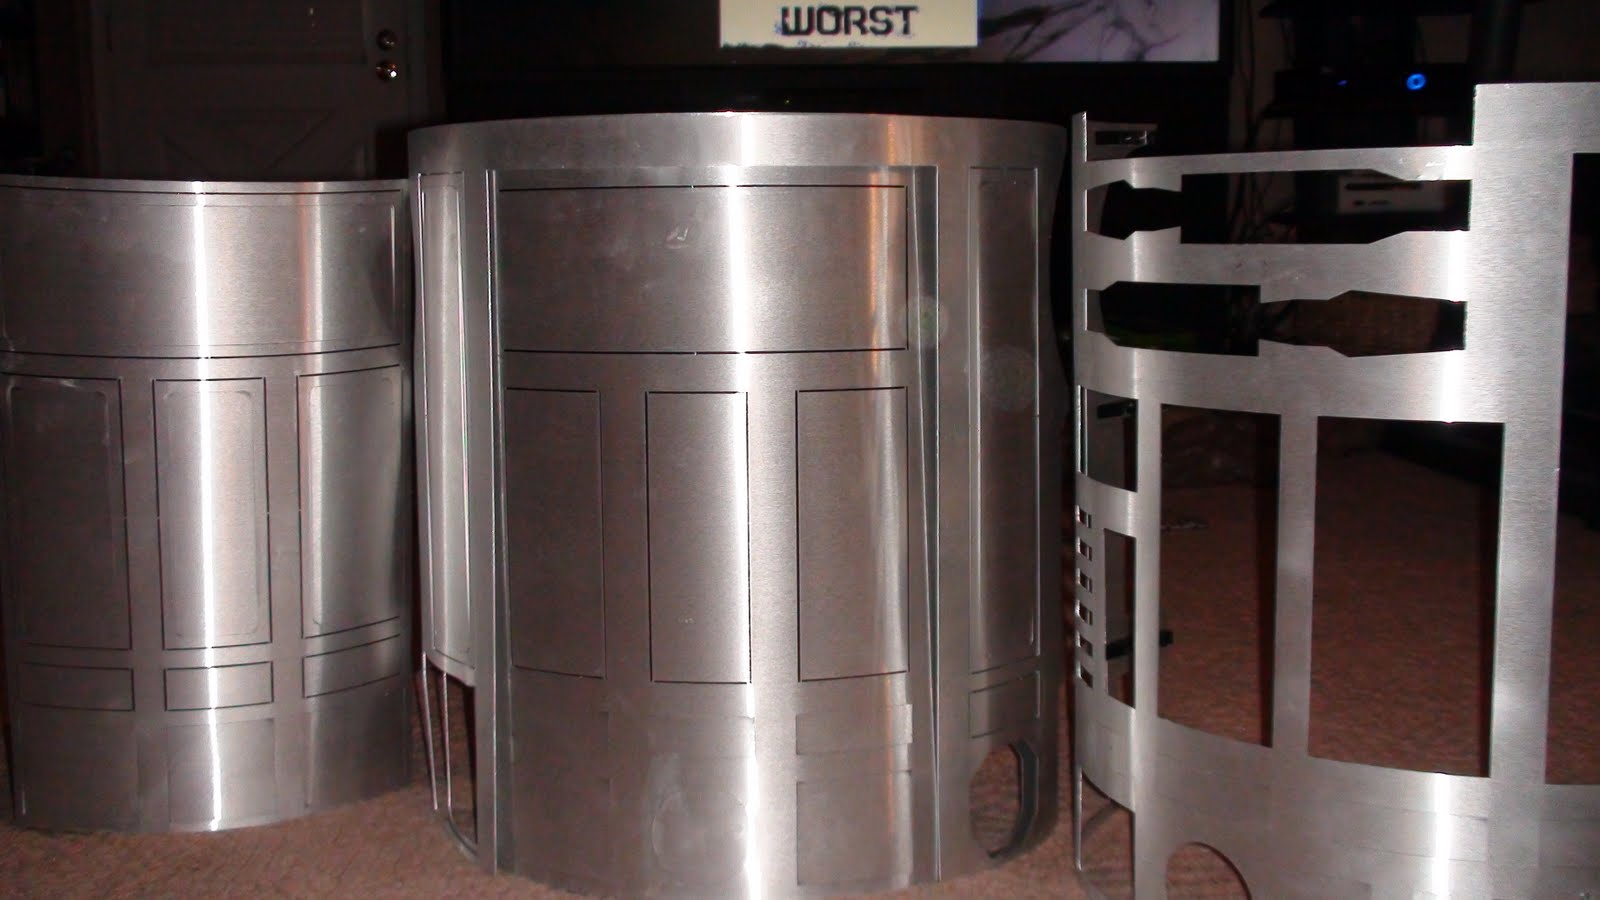
I cut out the rear outer door pictured on the left, center is inner and outer skin with the door cut out and on the right is the inner front skin.

Skin snaps install in front and rear inner skins. The screws will be hidden when I glue the outer skins over them.

I started mounting JAG hinges on the inner skins. The first one I did was in the charging bay door. I attached the hinge with blue tape and made sure it clears the cut holes in the charging door.

Since I'm using skin snaps that can remove the skin over and over. Its critical you get this one hinge exact in within margins of error. Which ain't much.

Next you'll want to wrap the hole to hinge with expensive blue tape like pictured. Then place your part in the center. I'm using the inner panel and to make sure the fit isn't to tight I put this up again a disc sander on each side so the laser cut metal isn't so tight.

Here is the inner charging panel in place prior to JB weld. Note: the lower left corner has metal touching. This can be filed down after the JB weld dries otherwise the alignment is pretty good.

So mix up your JB weld 50/50 in a small amount and weld the charging bay panel onto the hinge. Wait 24 hours and follow the next step.

Finally, tape down the other side of the hinge and JB weld that side and let it dry for 24 hours. Then its ready to use, open and sand. I use a plastic putty knife to mix the JB weld up, apply with a popsickle stick and tooth pics. Then wash so you don't have umpteen popsickle sticks and putty knifes to go thru. Keep that JB weldt away from the screws and washers of course.
No comments:
Post a Comment