So I ordered an nicely made frame called a COMM8 with some optional parts. Here is what you get in the mail weeks to months after you get in on a part run.

Here is what it looks like after you wrap it. I went with anodized blue.

It comes with instructions on how to put it together, some that is hand written! It also has all the hardware you need to assemble it. Its so well designed all the holes are drilled and tapped. So you could send parts to other owners and they'll pretty much screw together fine.

There are three rings and this is the top ring with shoulder support. The top ring is easy to remember it has the circle for installing a slip ring.
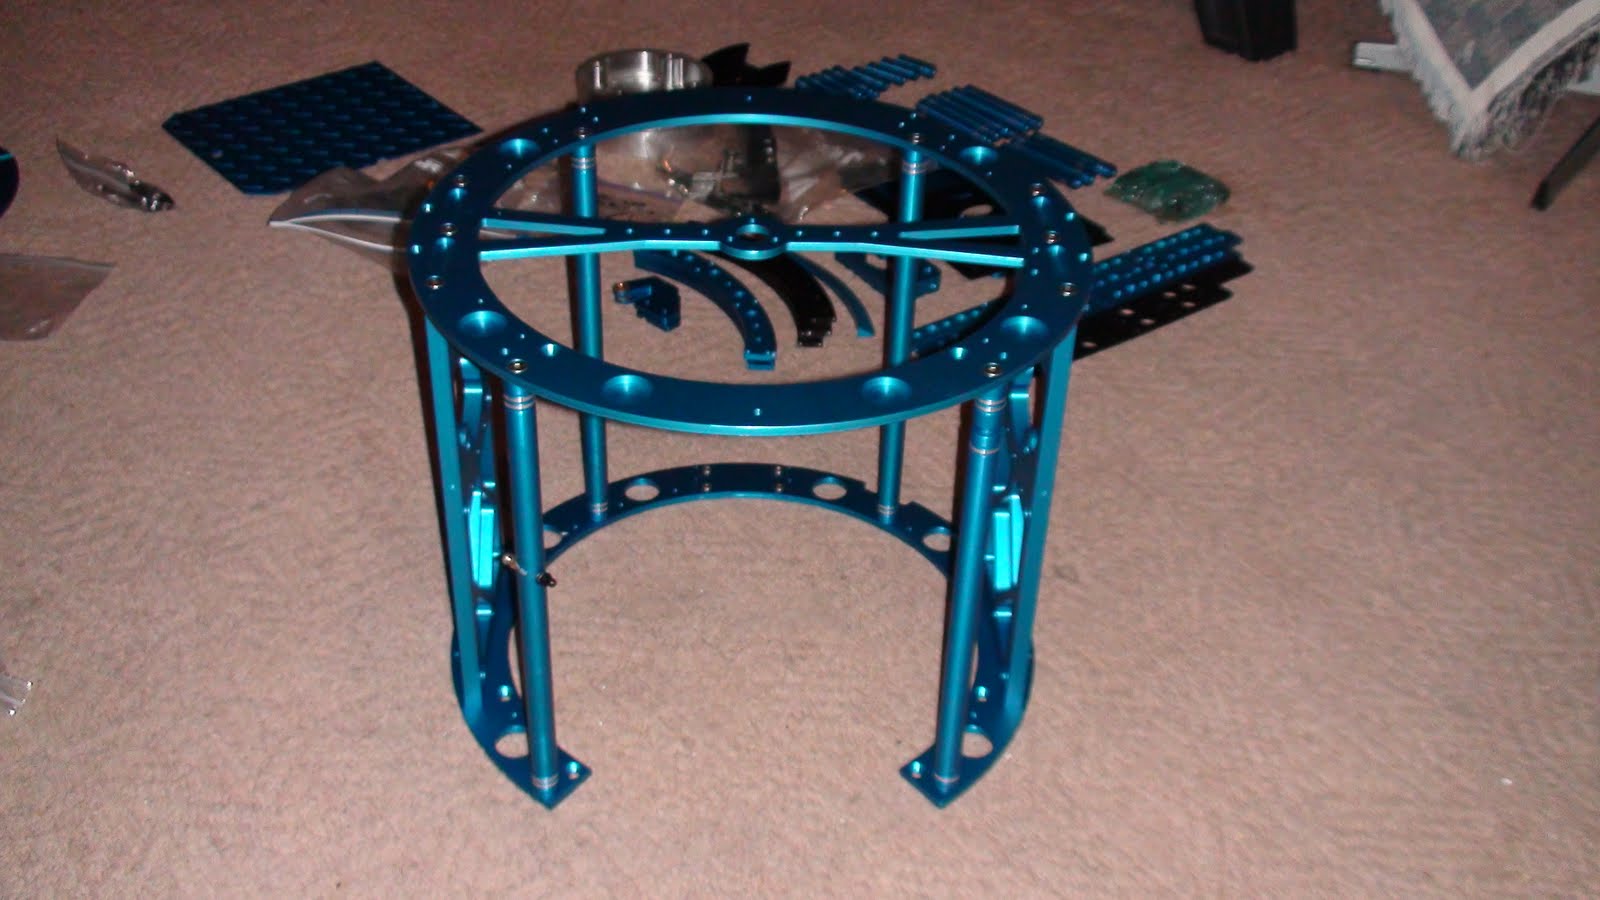
Middle ring and 4 long supports installed. It will take you about 1-2 hours to assemble the frame.


To the left is the read door assembled next to the frame.

So here is the the mount that will hold some type of 12 volt batteries I'll be getting. Left is the battery holding bracket.

The battery holder is now in the droid. As you go you start to realize how big this thing is and how heavy it is. Every thing you add just makes it heavier and heavier. The frame has many sections drilled out to reduce weight, but it averages around 30 pds when assembled.

I love the color of this frame. Its a shame I'm going to have to cover it one with skin in the future.


This section you see here is for the utility arms. The arms don't come with the frame in case your wondering.

In this photo I've added the utility arm holders, below that the brackets to hold the speakers, to the left of that is the charging bay. In the back of the droid the black part is the top bracket of the read fold down door. I've also added the silver should hubs.

Now the rear drop down door is installed. Note the black bar is under the 2nd ring. Earlier I mentioned how some of the lower rings are about .120 short. Look at your rings. 6 are the same size and the other 2 are shorter. These shorter support beams are the ones put under the rear door. If you don't you'll see gaps like I have in the photo below.

Notice on the left you can see some of the screw threads showing? You shouldn't be seeing this. It means you don't have the right supports installed properly. The one on the left needs to go under the fold down door since its cut shorter.

Out of the 4 long support beams one of them has this pin in it. That's a spring loaded pin to help you open and close the read electronics door.

Now frame assembly is complete. It's one of the most reward parts of building one. You see nothing turn into something recognizable in a few hours. Now you have a part that touches and holds other parts. So you have many directions to go in your astromech build at this point. You can work on legs, dome, electronics. Its your choice!
No comments:
Post a Comment